
Introduction
Thinking about installing pallet racking in your warehouse? Whether you're setting up a new facility or upgrading an existing space, getting the installation right from the start saves time, money, and potential safety headaches down the track.
Pallet rack installation might seem straightforward, but there's more to it than bolting uprights to the floor. From site preparation through to final inspection, each step plays a role in creating a storage system that's safe, efficient, and built to last.
Why Proper Installation Matters
A well-installed pallet racking system is the backbone of an efficient warehouse. Poor installation can lead to structural instability, reduced load capacity, and serious workplace safety risks. In Australia, pallet racking must comply with AS 4084, the standard for steel storage racking. This covers design, installation, and ongoing use. Getting installation right from day one means fewer issues with compliance inspections later.
Step 1: Assess Your Site
Before any racking arrives, take a close look at your warehouse floor. Key things to check include:
- Floor condition — cracks, unevenness, or weak spots can compromise racking stability
- Floor thickness and load-bearing capacity — your concrete slab needs to handle the combined weight of the racking and stored goods
- Ceiling height — this determines the maximum racking height and number of beam levels
- Column placement and obstructions — existing building columns, fire services, and electrical infrastructure will shape your layout
A thorough site assessment helps avoid costly surprises once installation begins. From our experience across hundreds of warehouse projects, floor issues are one of the most common causes of installation delays.
Step 2: Plan Your Layout
With site constraints mapped out, the next step is designing a layout that works for your operation. When organising your warehouse, consider:
- Aisle widths — these depend on your forklift type. Counterbalance forklifts need wider aisles (around 3.5m), while reach trucks can operate in narrower spaces
- Bay configurations — the number of beam levels per bay depends on your pallet heights and the products you're storing
- Traffic flow — plan one-way traffic routes where possible to reduce congestion and collision risks
- Access points — position your racking to allow clear access to loading docks, exits, and fire equipment
Your layout should balance storage density with operational efficiency. Cramming in extra bays at the expense of workflow usually costs more in productivity than it saves in space.
Step 3: Prepare the Floor
Once the layout is confirmed, prepare the installation surface:
- Mark out the racking positions using chalk lines or floor tape
- Drill anchor points according to the manufacturer's specifications
- Clean the floor area of debris, oil, and anything that could interfere with base plate contact
Floor anchoring is critical. Each upright frame must be secured with the correct number and type of chemical or mechanical anchors. The anchor specification will be outlined in the racking engineer's drawings.
Step 4: Assemble the Upright Frames
Upright frames form the vertical structure of your racking. During assembly:
- Check components — inspect all uprights, bracing, and base plates for damage before assembly
- Erect frames plumb and true — use a spirit level to confirm vertical alignment. Even small deviations can affect load capacity
- Install base plates and anchor bolts — ensure base plates sit flat on the floor with full contact. Shims may be needed on slightly uneven surfaces
- Add frame protectors — column guards at the base of each upright protect against forklift impact damage
Step 5: Install Beams and Connectors
With frames standing, it's time to add the horizontal beams:
- Start from the bottom and work up — this maintains stability throughout the build
- Engage safety clips or locking pins — every beam-to-upright connector must have its safety lock fully engaged. Missing clips are one of the most common installation oversights
- Check beam levels — use a string line or laser level across each row to confirm beams are horizontal
Beam capacities vary by length and profile. Always match beams to the load requirements specified in the design drawings. Swapping beam sizes without engineering approval can compromise the entire system.
Step 6: Add Accessories and Safety Features
Depending on your operation, you may need to install:
- Mesh decking or timber panels — for storing non-palletised goods or providing fall-through protection
- Row spacers — to maintain consistent spacing between back-to-back rows
- End-of-aisle protectors — industrial safety barriers to shield racking from forklift traffic at aisle ends
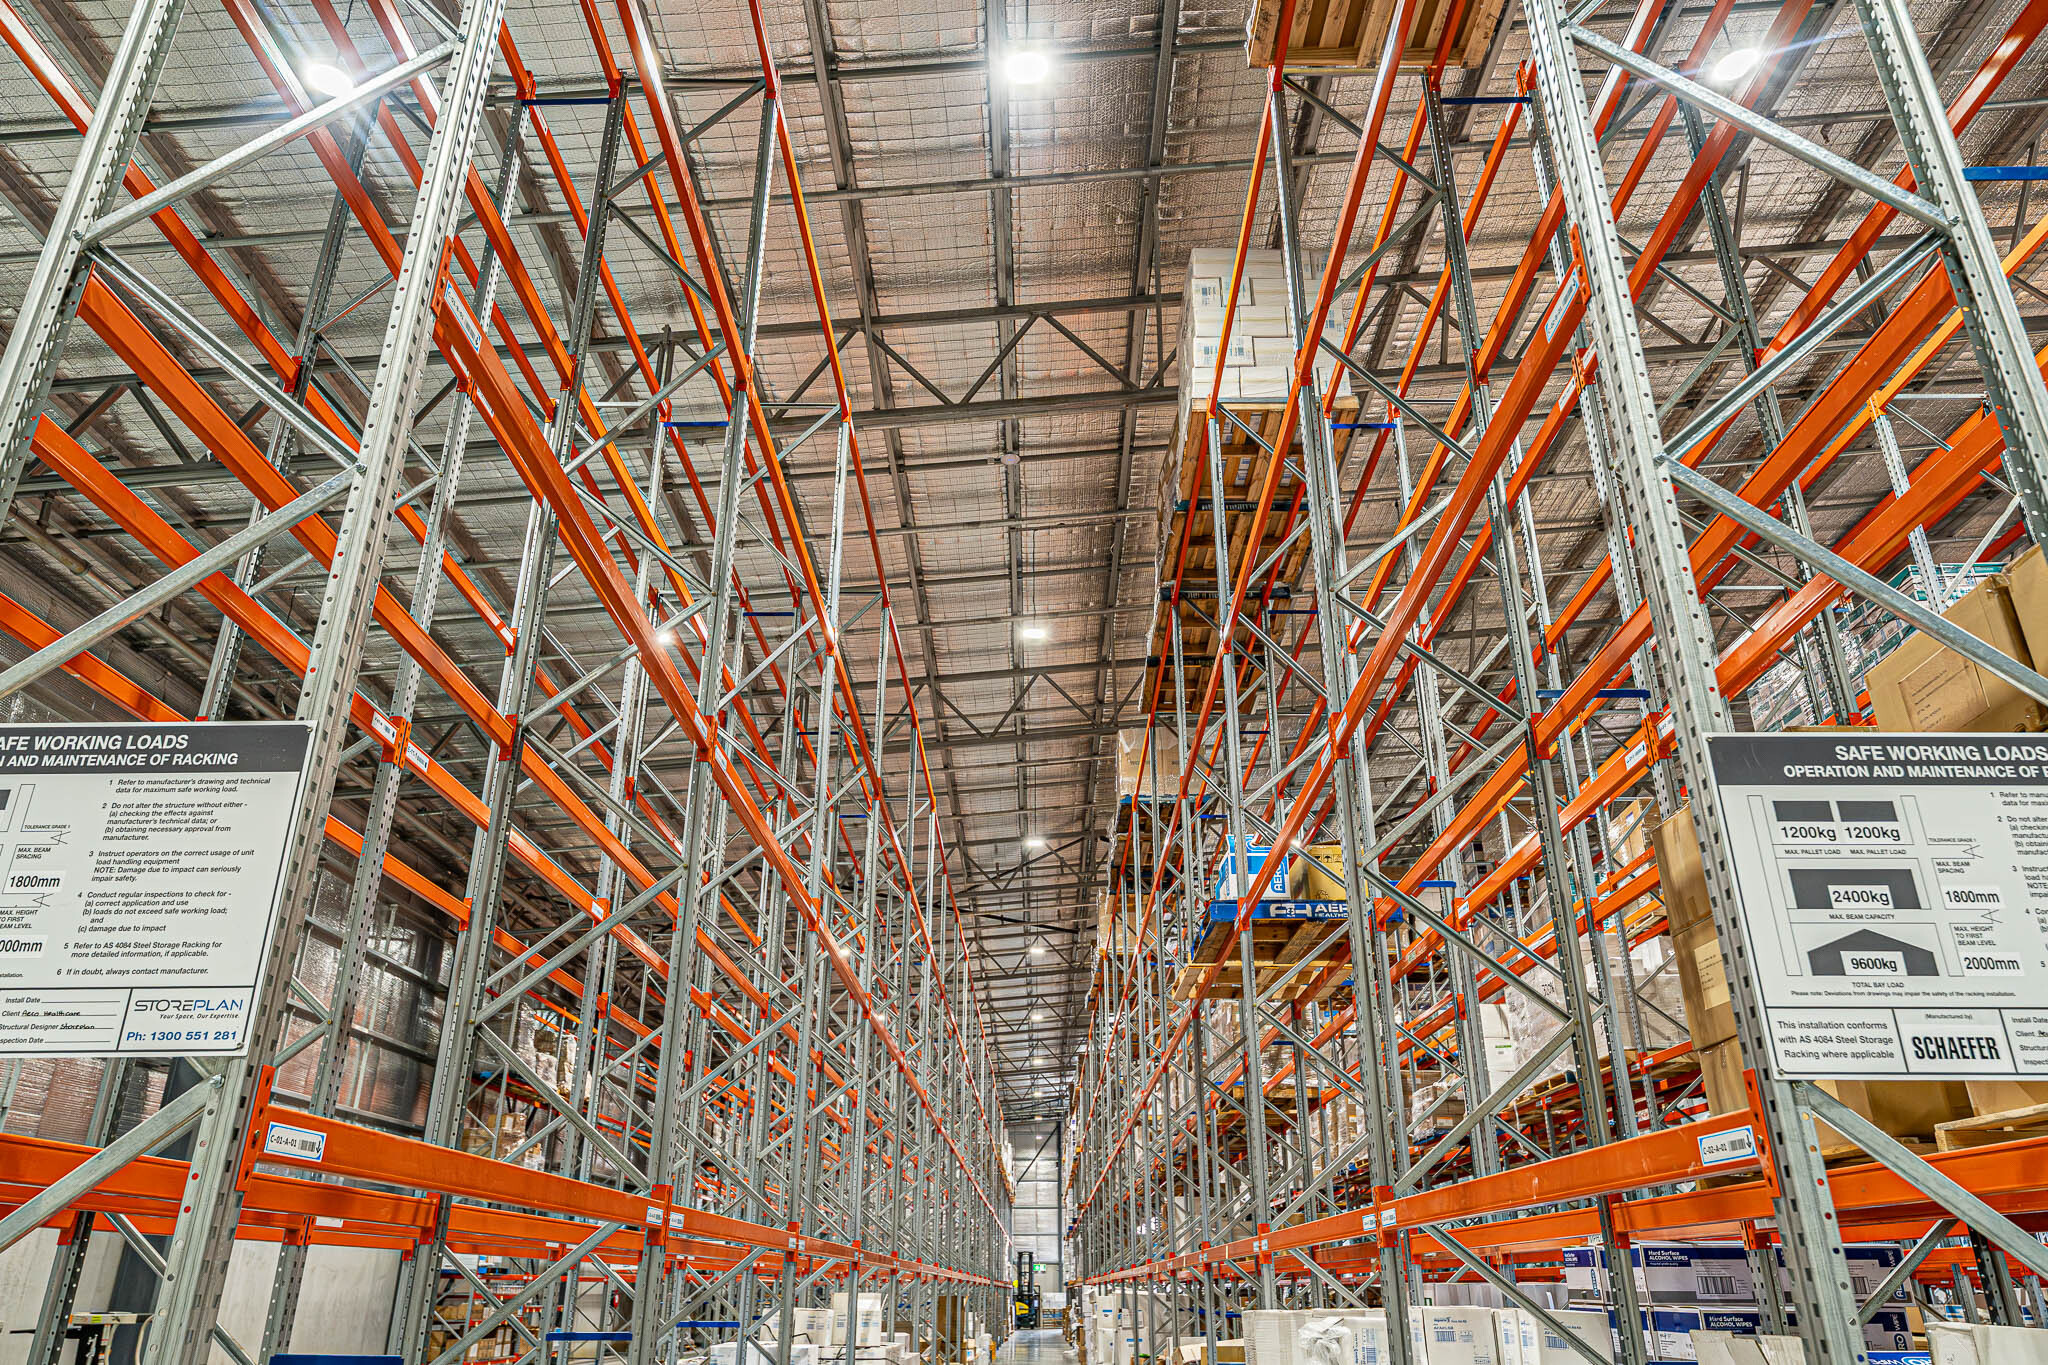
- Load signage — safe working load (SWL) signs must be displayed on every racking bay, as required by AS 4084
Step 7: Inspect and Commission
Before the racking goes into service, carry out a thorough inspection:
- Verify all connections — every beam clip, anchor bolt, and bracing connection should be checked
- Confirm plumb and level — re-check upright verticality and beam alignment
- Attach SWL signage — each bay needs a sign showing maximum load per beam level and total bay capacity
- Document everything — record the completion date, installer details, and a copy of the design drawings for your compliance file
A formal pallet racking inspection should be scheduled regularly after commissioning to catch any damage or wear early.
Common Installation Mistakes to Avoid
Even experienced teams can slip up. Watch out for:
- Skipping the floor assessment — what you can't see below the surface can cause problems above it
- Incorrect anchor spacing — always follow the engineer's specification, not a "near enough" approach
- Missing safety clips — if a beam connector doesn't have its locking pin, it's not properly installed
- Overloading before signage is up — never load racking until SWL signs are in place and the system has been inspected
When to Call in the Professionals
Installing a small run of shelving might be a manageable in-house job, but full warehouse racking systems are a different proposition. Professional installation ensures your system meets AS 4084, is engineered for your specific loads, and comes with the documentation you need for compliance.
Every warehouse is different, and a racking installation that works for one facility won't necessarily suit another. If you're planning an installation, talk to our team. We'll help you get it right from the ground up.