
You've signed a lease on a new warehouse, or maybe you're looking at an existing facility that's bursting at the seams. Either way, the question is the same: how do you design a warehouse that genuinely works for your business, not just today, but as it grows?
Good warehouse design is about more than filling a space with racking and shelving. It's a strategic exercise that connects your storage systems, material flow, workforce, and equipment into a cohesive operation.
Start with Your Operation, Not Your Equipment
The biggest mistake in warehouse design is jumping straight to product selection. Before choosing racking types or shelving systems, map out how your operation actually works:
What's coming in?
Document your inbound process. How do goods arrive? On pallets, in cartons, loose? How frequently? What's the average and peak daily volume?
What happens in the middle?
Do products need sorting, assembly, labelling, or quality checks? Where do these activities happen? How much floor space do they need?
What's going out?
How are orders picked? By pallet, by case, by individual item? What's the shipping schedule? Do you need staging areas for outbound loads?
Mapping your workflow reveals the design priorities that matter most. Our design process always starts here, because a distribution centre shipping hundreds of small orders daily has very different needs from a bulk storage facility turning over full pallets.
Zoning: Divide Your Space with Purpose
Effective warehouse designs organise space into functional zones:
Receiving Zone
Position this adjacent to your dock doors. Allow enough space for unloading, inspection, and temporary staging. If inbound volume is high, consider a dedicated cross-dock area.
Storage Zone
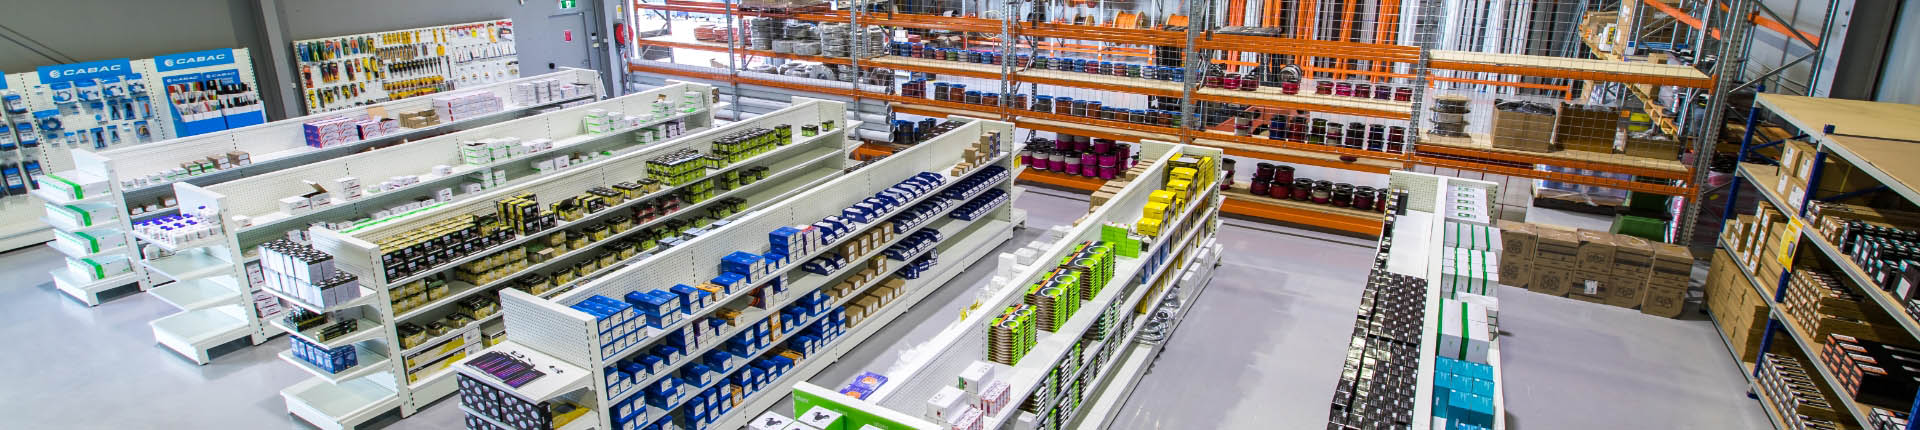
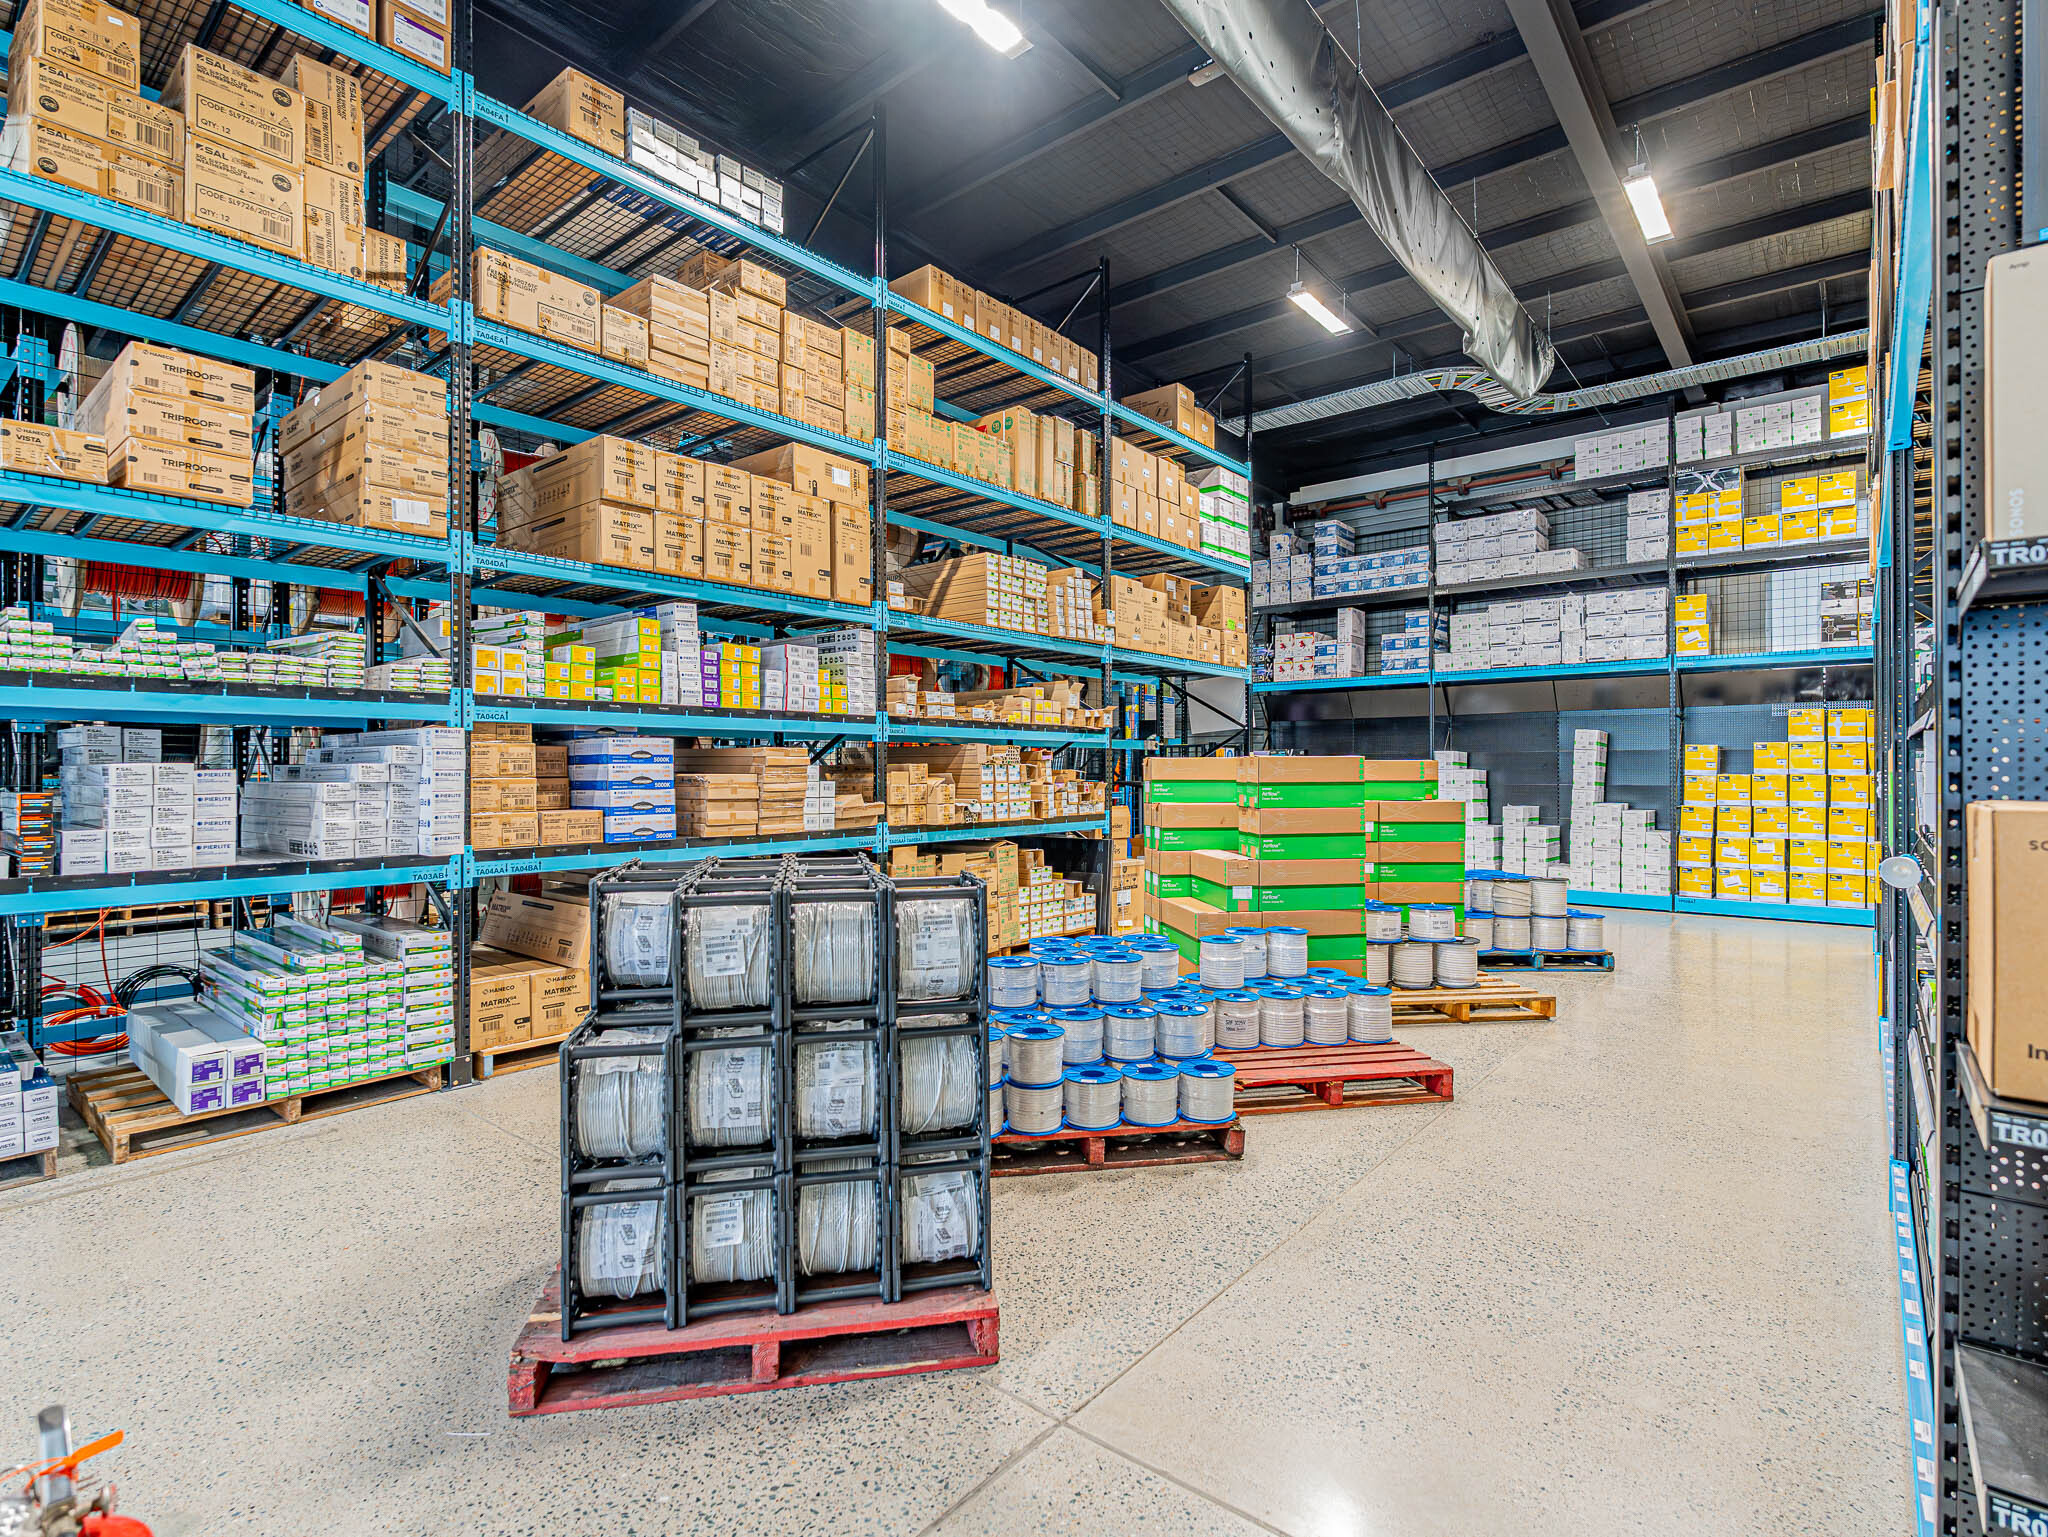
This is where your pallet racking, shelving systems, and bulk storage areas live. The storage zone typically consumes the largest portion of your floor plan.
Key decisions here include:
- Racking type (selective, drive-in, or double-deep depending on your SKU profile and turnover)
- Aisle orientation (running perpendicular to dock doors usually offers the most efficient flow)
- Fast-mover vs slow-mover placement (high-turnover products closer to the dispatch area)
Picking Zone
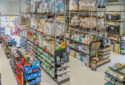
If you're doing case or piece picking, a dedicated zone with longspan shelving or carton live storage can dramatically improve pick rates. Separating bulk storage from picking keeps both operations moving efficiently.
Dispatch Zone
Mirror the receiving zone on the outbound side. Include space for order consolidation, wrapping, labelling, and staging by carrier or delivery route.
Value-Add Zone
For operations that include packing, assembly, or relabelling, carve out a dedicated area with workbenches and appropriate lighting. Tucking this into an awkward corner usually creates workflow problems.
Vertical Space: Your Hidden Asset
Floor space is expensive. Ceiling height is often underutilised. Smart warehouse design looks up:
- Taller racking — if your ceiling height allows it, adding beam levels to your pallet racking is one of the most cost-effective ways to increase capacity
- Mezzanine floors — a mezzanine level can double your usable floor area for picking, packing, offices, or additional shelving storage. Mezzanine floors are worth considering early in the design process, particularly if your picking or packing operation is competing with storage for ground-level space
- High-bay storage — for facilities with very high ceilings (10m+), high-bay racking with VNA turret trucks delivers exceptional storage density
Every metre of unused height is potential capacity going to waste.
Traffic Flow and Safety
Forklift traffic is one of the most overlooked aspects of warehouse design. Get it wrong, and you create bottlenecks, collision risks, and damaged stock.
Design your traffic flow with these principles:
- Separate pedestrian and forklift zones — clearly marked walkways with safety barriers at key crossing points
- One-way aisles where possible — reduces head-on encounters between forklifts
- Wide main thoroughfares — primary travel paths should allow two forklifts to pass comfortably
- Clear sightlines at intersections — avoid creating blind corners with racking placement
Choosing the Right Storage Systems
With your zones and workflow mapped, you can now match storage systems to each area:
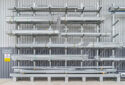
Selective pallet racking is the most versatile option and suits operations that need direct access to every pallet position. It's the default choice for most Australian warehouses.
Drive-in racking works well for high-volume, low-SKU operations where you're storing large quantities of the same product. It trades access flexibility for higher density.
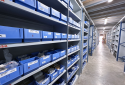
Longspan shelving is ideal for hand-picked items, cartons, and smaller goods. It bridges the gap between pallet racking and light-duty shelving.
The right mix depends on your product range, turnover rates, and picking methods. Many warehouses use a combination of systems across different zones.
Future-Proofing Your Design
The warehouse you need today may not be the warehouse you need in two years. Build flexibility into your design:
- Modular racking — systems that can be reconfigured, extended, or relocated as your business changes
- Scalable mezzanine capacity — start with the area you need now, but ensure the structural design allows for future expansion
- Spare power and data points — adding electrical and data infrastructure later is disruptive and expensive
A conversation about growth plans upfront costs nothing but can save significant capital down the line.
Bringing It All Together
Warehouse design is a balancing act: storage density vs accessibility, efficiency vs flexibility, budget vs long-term value. The best designs don't optimise for just one metric. They find the right trade-offs for your specific operation.
The best warehouse designs start with understanding how your operation actually works. Our team will work with you from the first site visit through to the final installation, making sure your storage systems support your workflow, not the other way around.